
Landscape set extension with Terragen 2 and Zbrush
Production notes and guide to the workflow and techniques used to create the landscape for Duke Hammonds castle.
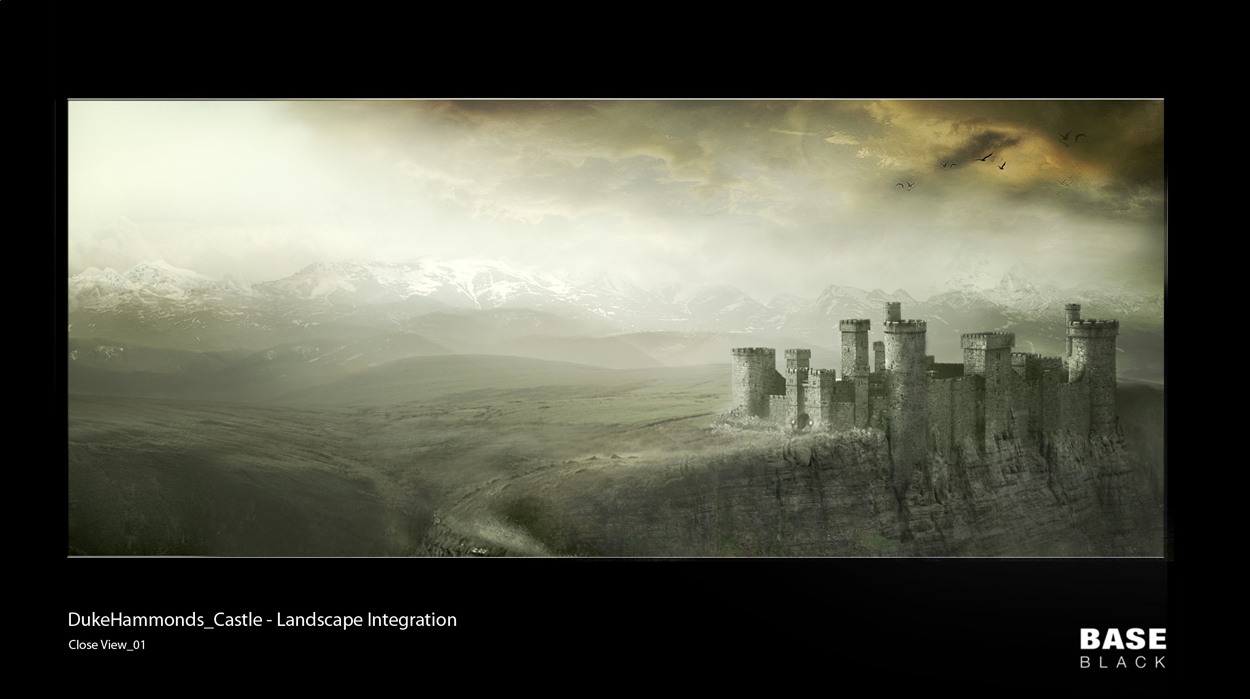
early concept work that incorporates Zbrush sculpting into matte painting. Painted by Charlotte Tyson
Much of the early 3d development work was achieved using zbrush, this was in order to figure out just how the castle should be integrated into the landscape. Early versions had the castle sitting further from the cliff edge, bordered by a moat and spikes, we then decided that, having the castle on the edge and cut into the rock face would be much more dramatic.
Initially, the main plans for the castle in the film were for fairly distant shots, but a helicopter shot taken during filming was later added to the shot list as an establisher for what later takes place at the castle. This was a 2000 frame fly over of a valley in the Brecon Beacons.
This presented numerous challenges from the start, with the match move proving very difficult. It was here that I first brought Terragen into play. The match move artist was using rough contours taken from OS data to form the basis of survey points in the camera solve. I suggested finding a better source for the data and forming the basis of a workflow that would work in tandem with the 3d team. After some research I obtained an open source 50m hieghtfield dem (digital elevation map) of the area we were surveying and through terragen exported several levels of mesh resolution for use during the camera solve.
It was at this point that, acknowledging the challenges this shot might present due to the levels of detail potentially needed that I started working up concepts in Terragen, in order to highlight what we could achieve outside of conventional methods.
Early Terragen test
These initial tests were enough to convince my supervisors that it was an approach that could work, so we set about incorporating Terragen into the pipeline. We then purchased a higher resolution 5m DTM (digital terrain map) that I converted into a 32bit height field. On it's own this was never going to be enough to form the full landscape, and the real world terrain did not accommodate the base on which the castle had to sit.
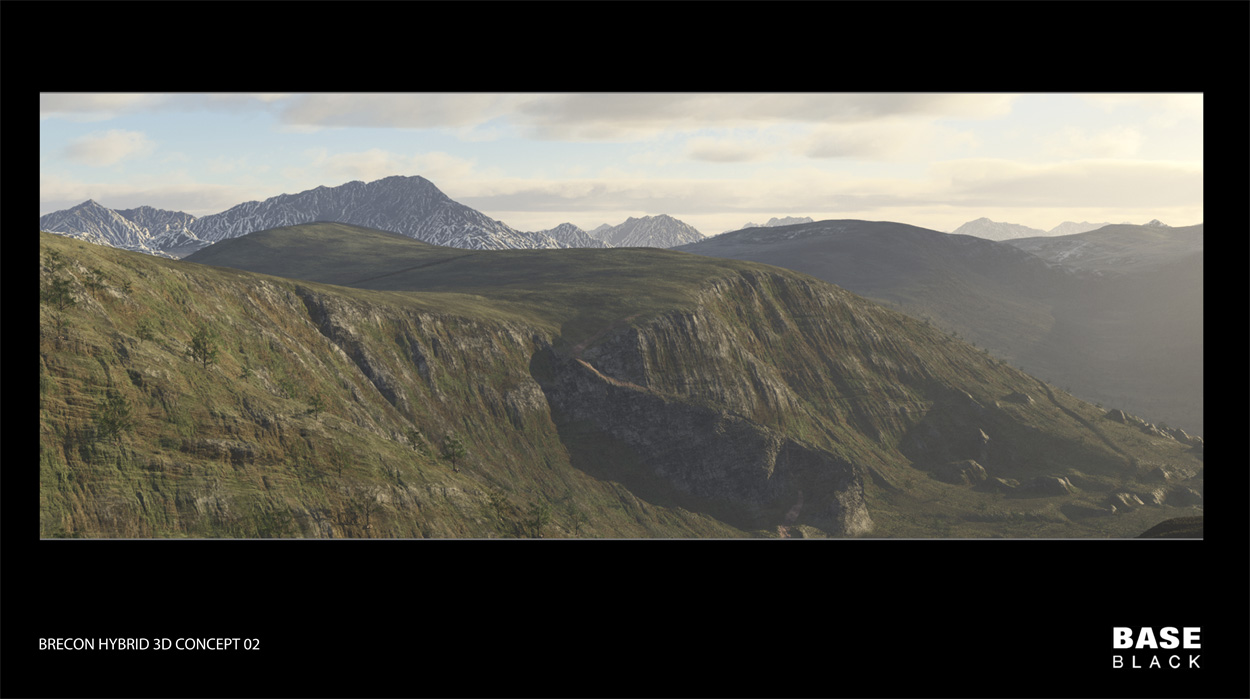
The surrounding environment was built on another location shoot that had taken place in the Cairngorms, again data was taken from this area and I set about creating a hybrid environment based on the two locations. Making use of multiple heightfileds in terragen and using simple shapes as masks, I started to create a new layout that could be easily directed. Sitting with my supervisor, we had sessions we we literally moved whole mountain ranges around in real time, swapping in and out different elements until a layout was agreed.
Once settled, I set about combining all of these elements into one master height field, in order to optimize the scene and workflow. One technique I like to use for this procedure is to export as high a resolution mesh as possible from Terragen, take this into Maya, create a poly plane of the same size in the same coordinates and take both of these meshes into Zbrush. In Zbrush, I can then save a morph target for the low res poly plane before subdividing, then project the details of the high res mesh onto the poly plane from Maya. This technique has several benefits, now that I have a base quad mesh from Maya, I can keep sculpting and art directing the environment, as well as having a 3d mesh on which I can easily create all manner of masks for further use in Terragen. This is then recalculated from the base morph target and exported as a 32bit displacement map, and replaces my hybrid height fields.
The same technique, albeit with slight variations is also used to export smaller areas of the terrain, like the area around the castle for more detailed sculpting, these are then exported and displaced again through camera projections on top of the base mesh in Terragen.
Morph target and sculpted difference
Another challenge set by the director was that he wanted to preserve as much of the original plate in the shot as possible. This meant matching the detail and scale of elements in the plate as closely as possible so that the terragen renders and plate would merge as seamlessly as possible. The Zbrush sculpting alone was only ever going to achieve a base level of resolution, and the finer detail and shading was created in Terragen. Using stretched fractals I was able to cut in the finer levels of displacement as well as adding more rocks and stones inside the recesses and areas where the cliff face meets the castle. Multiple masks, height and slope rules were then used for the rest of the wider environment. Thanks to the nature of the hybrid workflow between apps, some passes were also rendered out from Maya, like the detailed mask painted in Zbrush that was used in the comp to reveal the parts of the plate that were retained.
![]()
Original plate and resulting landscape
Thanks to Terragen, we were able to create huge levels of detail, and render times never reached much over an hour per frame even at 2k resolution. The new global illumination baking and interpolation meant that it was easy to create a matched lighting system with zero flicker throughout the shot. Although I like to keep my terragen work simple, this easily beat out any other node system I've created before with over 450 being used in the final render, though most of these were simply creating shading variations throughout the scene. Artistically the final result was more concerned in keeping with the stylized vision of the director than being strictly photo real.
Thanks for reading
Chris Hunt